This tutorial will help you create a name collage. All images have larger counterparts.
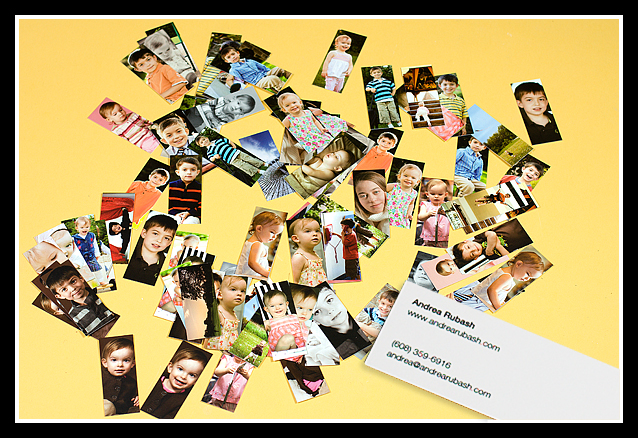
Click the thumbnails to see the images larger. Note that you may also have to click them again once they've opened in a new window to zoom in on them more.
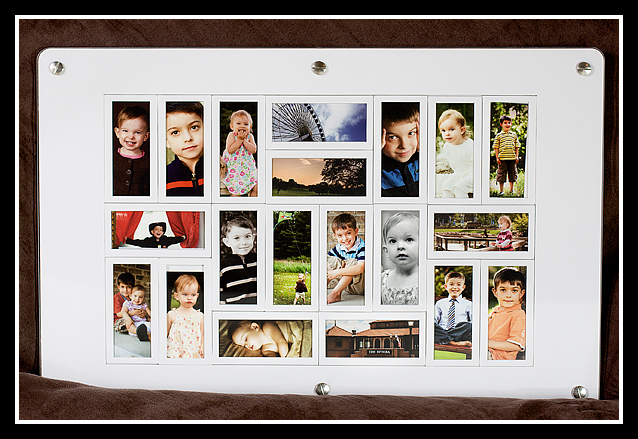
I chose a 20x10 canvas because it's a frame size I've seen in stores. You can choose any size, but it's probably a good idea to stay around 240-300dpi if you intend to print.
Here's a sample of how your finished collage might look:

The first step is choosing your font and setting up each letter on a separate layer. The font I chose is called "Boris Black Bloxx" but any chunky font will work. Start by working in black so you can easily see the letters and arrange them:

Next, select all of your letter layers and go to Layer --> Rasterize --> Type. Once you do this, you can no longer edit your letters as text so make sure they are just how you want them before you do this step. You will be able to work with them as if they are images instead of text.

Next, select a layer and use Ctrl-i to invert the black letter into a white letter. Do this separately for each of your letter layers. When you've done that, your image will look like this:

Next, select the layer of the first letter you'd like to work with (I highlighted the B layer). Then open the image you'd like to use, tap the 'v' key to select the move tool, then drag the image to your collage canvas. The image will appear on the layer directly above the letter.

Now, move your mouse cursor so that it is situated right on the line between the letter layer and the image layer. Hold down your 'alt' key and you'll notice a double circular cursor with an arrow. Click right on the line while that cursor is on the screen to create a clipping mask (your letter layer then becomes a mask for that image, showing only what is in the white area).

You'll continue this process for each letter. Make sure you select the letter you want to work with, then open the image you want to use to fill that letter and drag the image directly on top of it. Hold down the 'alt' key and click right between the 2 layers with the image above the letter layer. When you've finished all the letters, your layers palette will look like this:

Now you can be creative. First, add a background layer. I prefer white, so that's what I used. You can use any color. Just add a layer all the way at the bottom and use the paint bucket to fill it with your color of choice.
Select a letter layer to add effects to the letter. You can access the effects panel by double clicking the layer. I used a stroke and a drop shadow. Once you have the effect the way you want it, right click the layer and select "Copy Layer Style" to copy the effect, then select the next letter and right click again, this time selecting "Paste Layer Style" to paste the same effect on each letter layer. Remember to do this on the letter layer, not on the image layer.

When I finished with that, I created another text layer for a name. I also applied effects to the name. I also created additional layers where I used a free brush I downloaded from one of the many PS brush sites (google) to both sides for a little extra decoration.

That's it! The finished collage is ready to be printed and framed at 20x10! Remember, you can click the thumbnail to see the image larger. :)